
Welcome to our 2024 Build Blog. This is the 13th year of the blog. Our 2024 robot will be named “Ultraviolet 2024”
2024 Season Resources
Resources
NEW FIRST $2000 - 2000.Spectrum3847.org
An update to the popular FIRST $1000 and $10,000 Tool recommendation guides
The supplies/consumables and next step tabs are still a work in progress.
Make a copy to have an easy place to reference your KOP voucher codes and ensure that you use all of the donations.
Used for keeping track of team tasks and progress.
Videos
Thanks to Norm from 2468 for presenting with me.
Walkthrough of our V-carve template setup (Spectrum specific)
New D3.7 Climbers - Slides
Many robot photos from across seasons. Helpful to get ideas for mechanisms for each game.
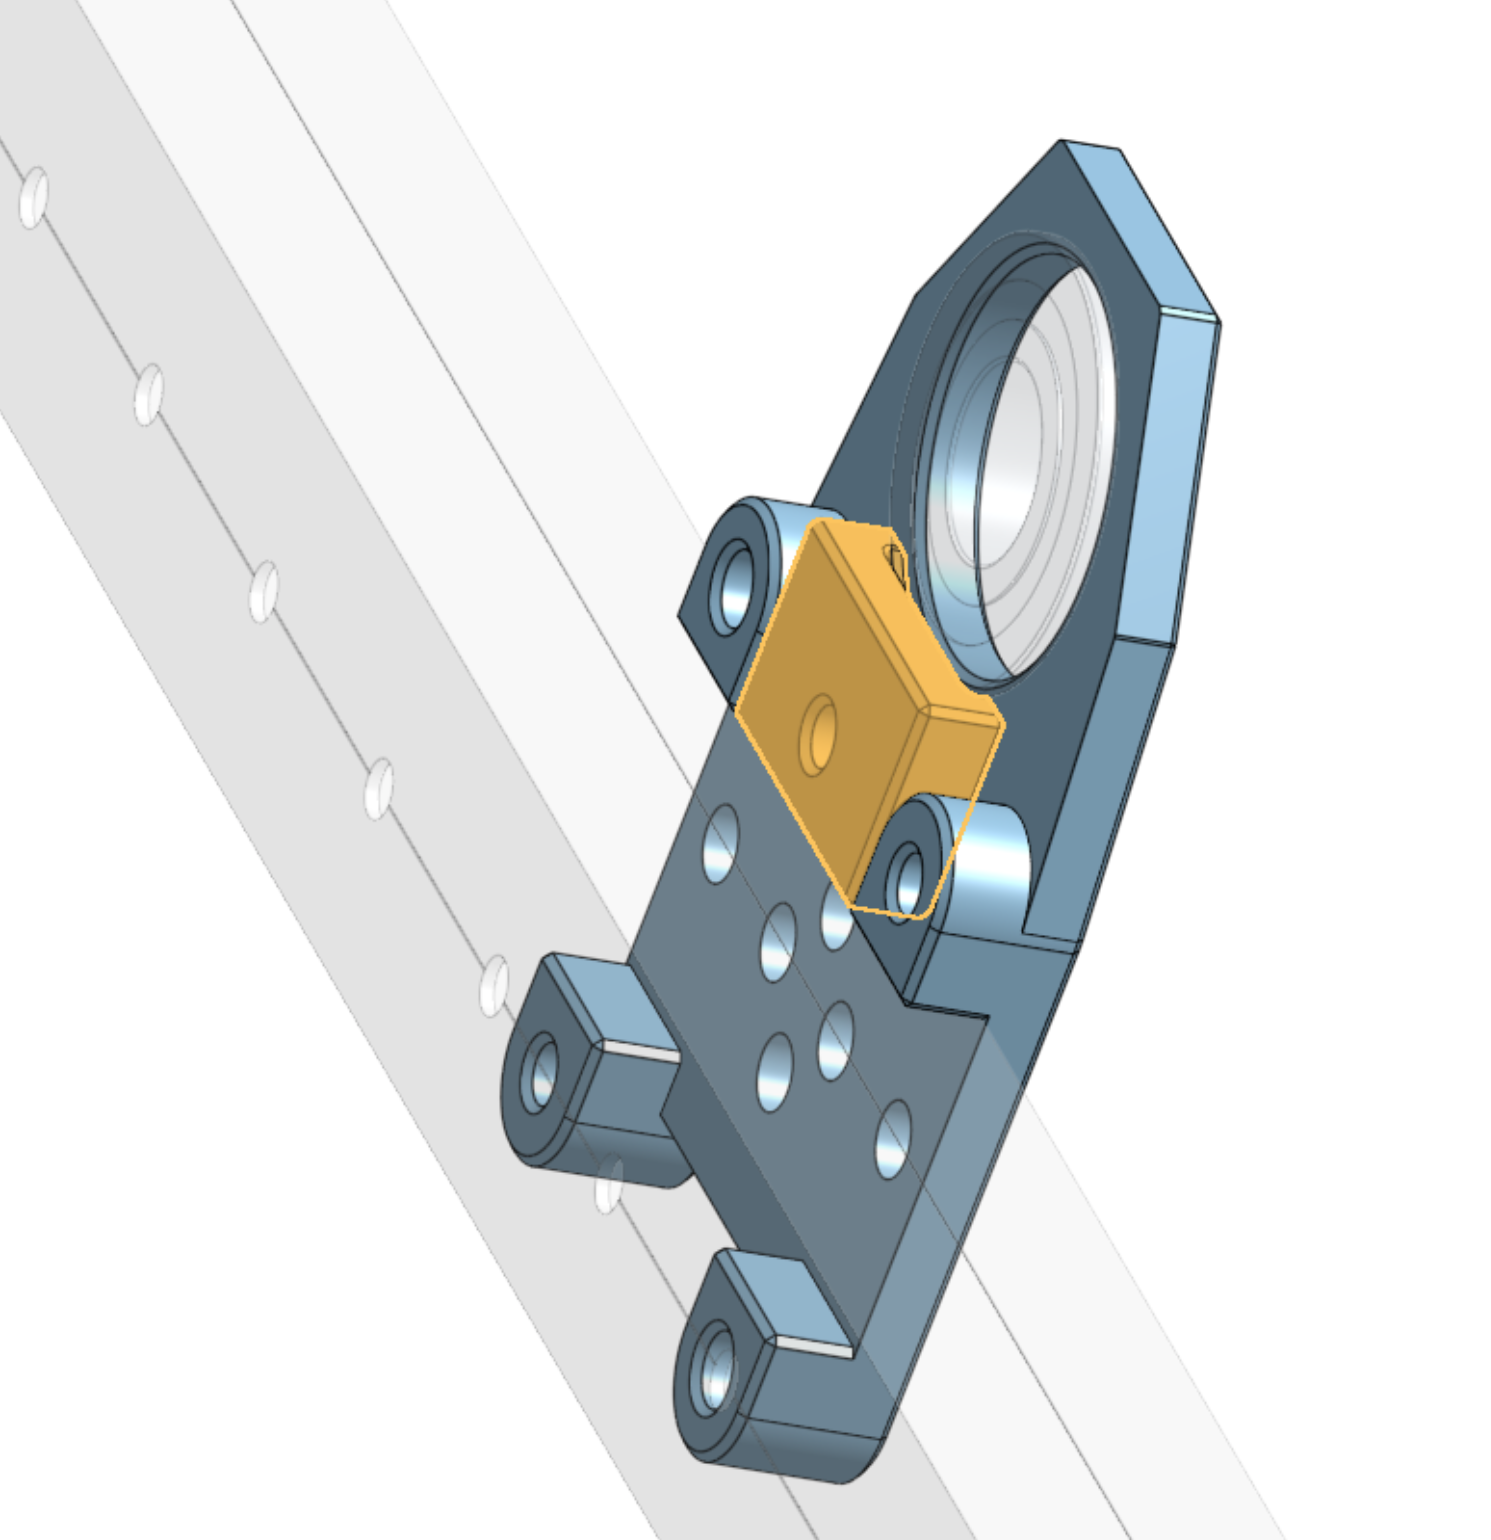
Minor Update to our Printed Prototype Blocks
At the suggestion of FRC2582, we have added a small bearing retainer block that allows you to easily hold a hex bearing into the bearing block. The block should be tapped to 10-32, you can normally do this by just screwing a bolt into the block.
Spectrum Design Guidelines 2024
We created some guidelines from our past experiences and design discussion over the fall. These aren’t rules so it’s possible and likely that we will break some of these but they are here to remind us that we may be going down a bad path if we are having to compromise on many of them. These are specific to our team, it’s entirely possible to build very competitive robots while doing things extremely different from us.
Don't do list
Don't be that far off the Meta design
If you're doing something real weird, stop and think real hard about it.
Does the advantage you think you are getting actually matter? Will it matter on Einstein?
No launching during pick and place games
No scissor lifts
No pinch/claw intake
Always spinning intakes with active eject when possible
No pink arms (Telescoping arm with center pivot)
No picking up flat objects at a steep angle
Did it in 17 and 18 and it was a mistake both times
No ramp bots
platforms/forks are okay, teams are very bad at driving up ramps
No Mecanum, h-drive, kiwi/Omni/x-drive, tank treads
No 6-32 bolts (4-40 and 8-32 will almost always work)
No pneumatics (20 motor slots now)
No small motors, no brushed motors
only NEOs/Vortex/Falcons/Krakens
no NEO55, 775pro, etc
No motors in rollers/tubes designs (neat but hard to maintain)
No lightening patterns
Waste time
Easier to bend or break
Doesn't save enough weight, use thinner materials instead
If you have to, circles work great and our fast (see 1114 2011-16)
No bumper or frame gaps (unless rules don’t allow extensions)
This prevents your frame from getting bent
allows bumpers to take all impacts properly.
Don’t chase magic numbers
If there is only a single optimized dimension where your mechanisms function that normally means it’s not going to maintain throughout the season. Especially if one direction makes part of the mechanism easier and the other makes another part easier, trying to find that perfect balance is very difficult.
This could be an intake opening, a specific hood angle, etc.
Fasteners
10-32 socket head
Alloy steel, zinc or black oxide coated
Nylock nuts or Nylock jam nuts, no regular nuts
Button or flat head when needed
3/16 multi-grip rivets
Steel mandrel, aluminum head
Dome or countersunk
Use other bolt sizes sparingly only when required by some cots part or size requirements
Use COTS parts effectively
Besides cut plates, prints, standoffs, rollers, etc
Materials
REV MAXTube or other pre-drilled tube any sizes
1/16” wall 1x2,2x2 when MAX pattern doesn’t work
⅛” wall drivetrain tube
1/16" or .09”, 0.25” aluminum
Can bend flanges for more strength
1/16", ⅛", 6mm polycarb
½" & ⅜" Rounded Hex Shaft
REV Rounded Hex ½” and 10-32 Spacer stock
WCP ⅜” rounded hex (7075)
REV MAXSpline shaft
Polycarb, PACF filaments
Don’t use PLA on comp robot mechanical parts, covers,etc is fine. (It works but we had issues with cracking last year)
⅛in steel belly pan
help with CG
unless we think we will need the weight other places
Swerve
MK4i, L3 (likely)
Bumpers
¾" Baltic Birch plywood (don't use cheap plywood)
Solid core round noodles
Nylon fabric
Large numbers for larger surface area
Bolts hold brackets to the wood, not wood screws
Use a mounting rail structure like 3538-2023 when possible
allows for clean belly pan electronics
Allows for mounting intake plates, etc all the way to the corners which is harder with the MK4i modules.
Allows for more cross bars if needed
Side plates can be enlarged for 2337-2022 style mounting
Handles
Handles should be integrated into the robot so that’s easy to carry on and off the field and allows more students to lift the robot easily
2023 offseason handles - https://www.mcmaster.com/1897A52/
Power transmission
High torque/low speed
#25 chain, turnbuckle tensioners
MAXPlanetary+motor
MAX 90s work well
High speed
Motor pulley pinion
5mm belt
15mm wide when possible, 9mm if space is needed, much harder to rip 15mm
No Pneumatics
Support the end of motor output shafts with a bearing when possible
Shafts
½” hex and MAXSpline shaft when possible.
Snap rings are good
Light, easy, reliable
Better to have snap rings and tapped 10-32 with washer in the ends
Bearings for all fast motion
Launchers, intakes
Bushings for slow motion is ok
Arms, wrists, pivots, etc.
Electrical
Battery
Flat mount battery on belly pan if at all possible
Battery strap with metal buckle
Zip tie battery connector every match
Leads always point up, NEVER to the side
4 AWG wire
Blue Anderson SB120
Main breaker
NEVER OPTIFUSE!
Nord-Lock and Lock Nuts ¼”-28
3D printed breaker shroud
8-12 AWG for all motors
18 AWG for device/aux power
24 AWG for sensor wire
Inline Wagos for power
Kraken ring terminals direct to PDH
Inline dual clear lever nuts for can and signal/low current wires
2 to 6 for swerve
3 lever for LEDs, other sensors
Slim Ethernet cables
Mount radio above bumpers and away (6in +) from motors
Hot glue Ethernet and non-locking connectors
LED strips should be visible from all sides of the robot.
Cameras
Limelight for aiming
Limelight+coral for game piece tracking
Fisheye for driver camera, should be able to see intake
Sensors
Use internal encoders whenever possible, zero at boot and on a button
Digital Hall Effect sensors can be used for homing but not always needed
Sensors for game piece detection in intake/path
Swerve absolute encoders
Aesthetics
Primary purple powder coat, some white powder coat
Primary white vinyl wrap, some purple
White Polycarb
Addressable LEDs
Sponsor panels
Things to consider
Robot starting configuration
Handles and carrying the robot
Electronics layout, gyro, Rio, PDH, etc.
Wiring paths
Tether location
Make sure you have a plan to run the full autonomous while tethered, Ethernet reels, poles to hold the cable up, etc
Practice full matches, from cart to cart
Avoid shock loads on any systems, even if they work during testing, they will eventually cause damage over a whole season
No comments:
Post a Comment
Note: Only a member of this blog may post a comment.